GETTING STARTED
Welcome to the Artisan Tradition
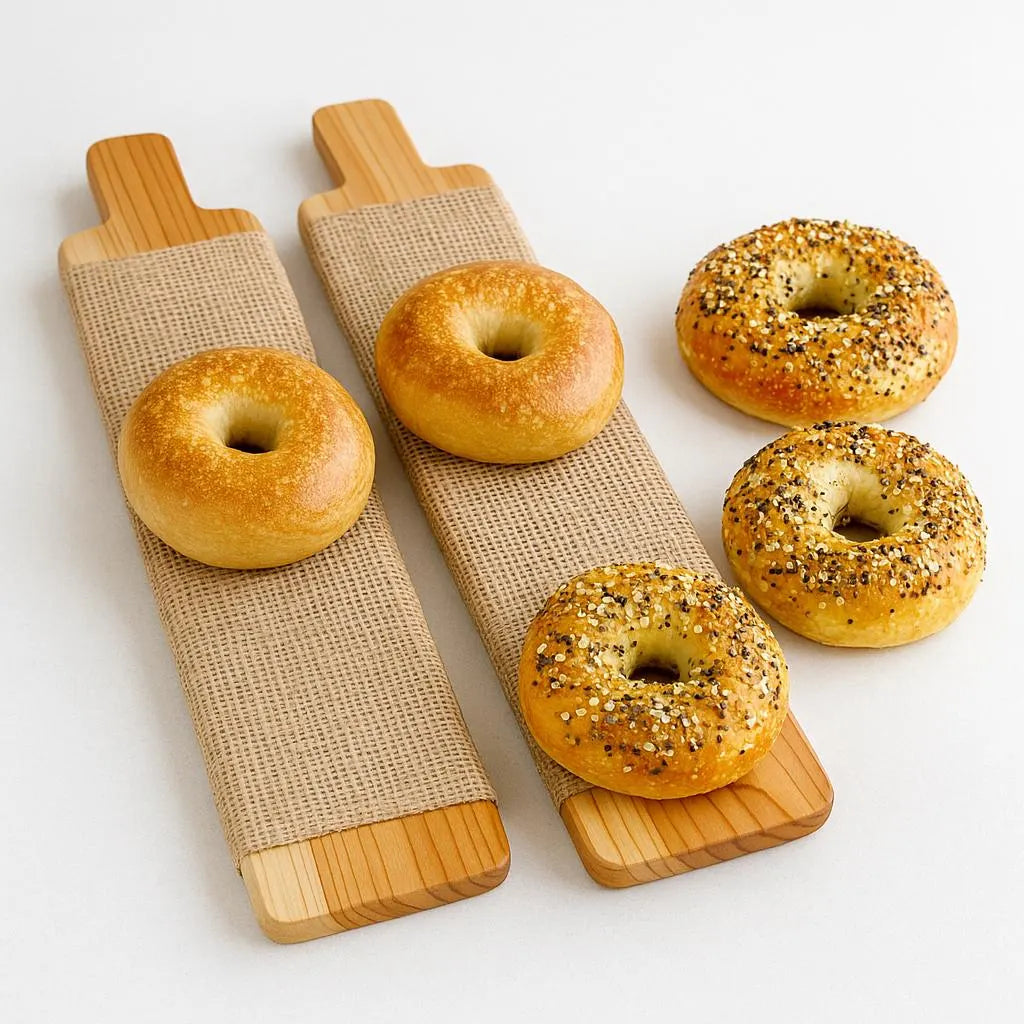
Welcome to the community of bakers who refuse to settle for ordinary bread. These boards were handcrafted in our Colorado Springs workshop to bridge the gap between home kitchens and professional bakeries, acting as your companion in achieving that legendary NYC-style finish. Whether you are using our Classic series or the modular Signature line, you are now equipped with the same hardware used by the industry's best. Remember that artisan baking is a tactile craft; as you move through these steps, focus on the rhythm of the process to turn a simple weekend project into a lifelong tradition.
STEP 1 — SOAK
Saturating the Wood
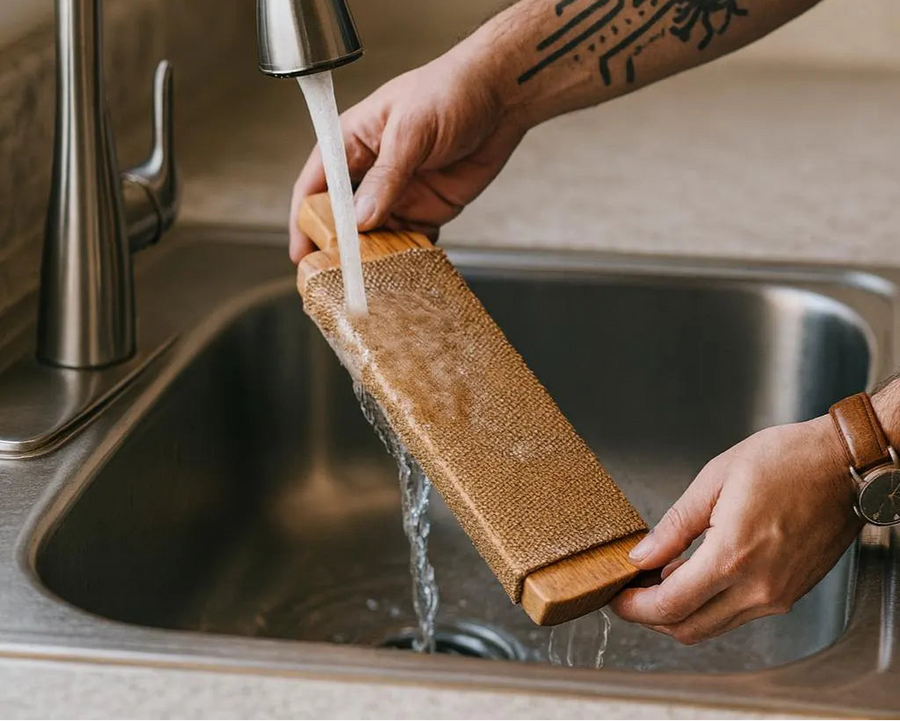
Timing is everything in a hot kitchen, so submerge your cedar boards in cool water for 5–10 minutes before you even touch your dough. This pre-soak is critical because it prevents the cedar from scorching in the intense heat of the oven while acting as a vital moisture reservoir. As that water evaporates during the bake, it creates a localized micro-steam chamber directly beneath the dough, which allows the crust to expand fully and develop its unmistakable professional, glossy sheen. A well-soaked board is the primary differentiator between a charred plank and a world-class baking tool.
STEP 2 — SHAPE
The Foundation of the Bloom
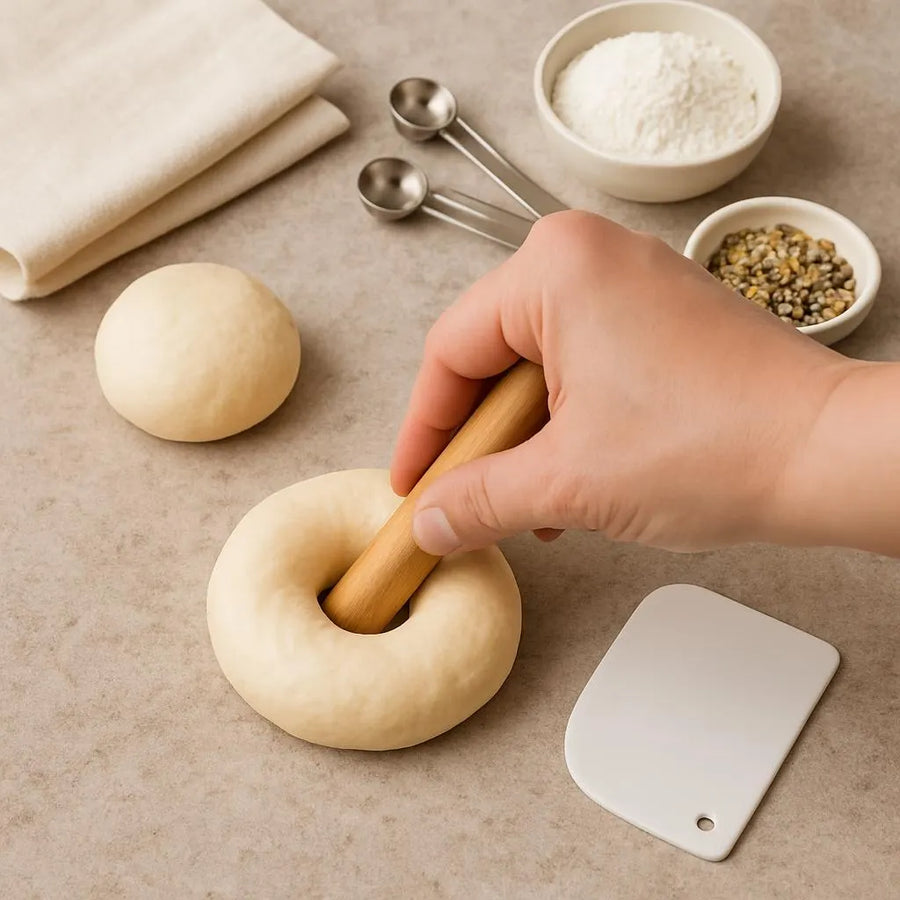
Once your dough is proofed, use your handcrafted wood bagel shaper or your finger to form consistent, uniform rings while maintaining even tension across the surface. This structural foundation is essential for the bagel to "bloom" upward on the board during the bake rather than spreading outward. Tight, consistent shaping ensures that every bagel in the batch bakes at the same rate and develops that iconic high-shouldered profile and dense, chewy interior. By mastering this step, you guarantee that your finished batch has the professional look and texture of a high-end artisan shop.
STEP 3 — BOIL
The Malt-Infused Bath
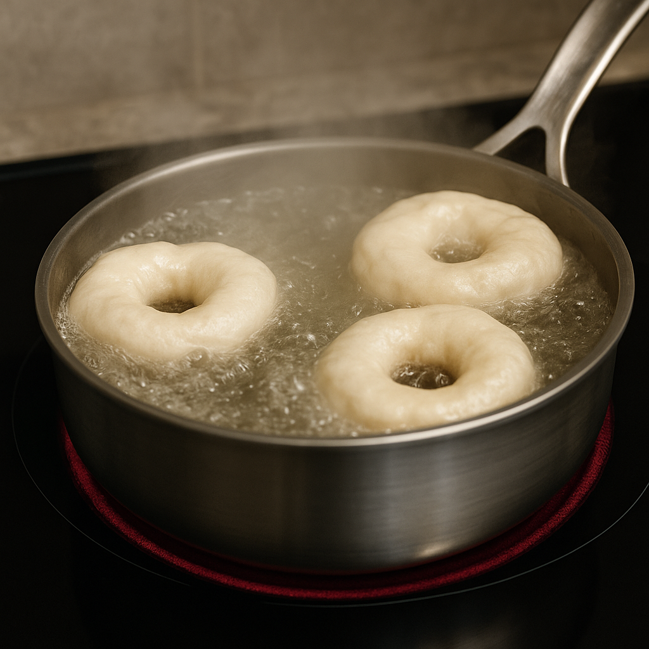
A quick 30–60 second boil in a malt-infused bath defines a true bagel giving the crust its color and shine with an authentic "chew." Add a tablespoon of diastatic malt powder to the water for a traditional golden color and that signature bakery shine. Once the bagels are boiled, remove them and apply your Everything seasoning or other toppings immediately while the dough is still tacky to lock them in place. You must work quickly during this stage so the bagels hit the boards while they are still warm and moist to maximize the thermal transition in the oven.
STEP 4 — BAKE
Baking the Bottoms First
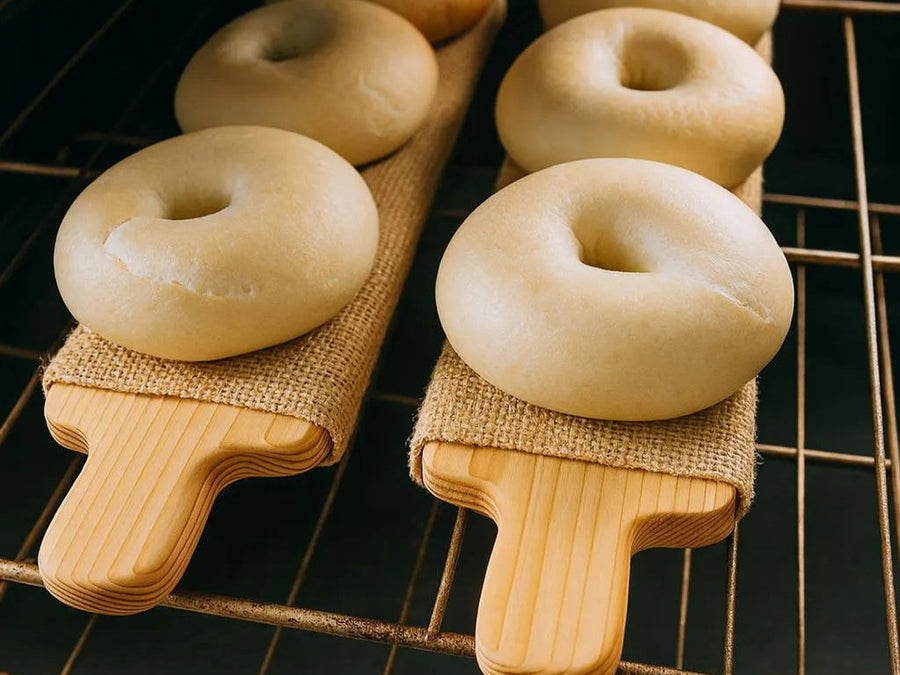
Place your boiled bagels directly onto the wet burlap, toppings-side down, to start the first half of the bake. While this feels counterintuitive, the moisture in the saturated burlap acts as a thermal shield, protecting your delicate seeds and garlic from the direct heat of the oven while the dough begins its initial rise. Slide the boards directly onto a preheated baking stone; the steam rising through the burlap will keep the crust pliable, allowing the bagels to reach their maximum height and oven spring before the crust finally sets.
STEP 5 — FLIP
The Finishing Reveal
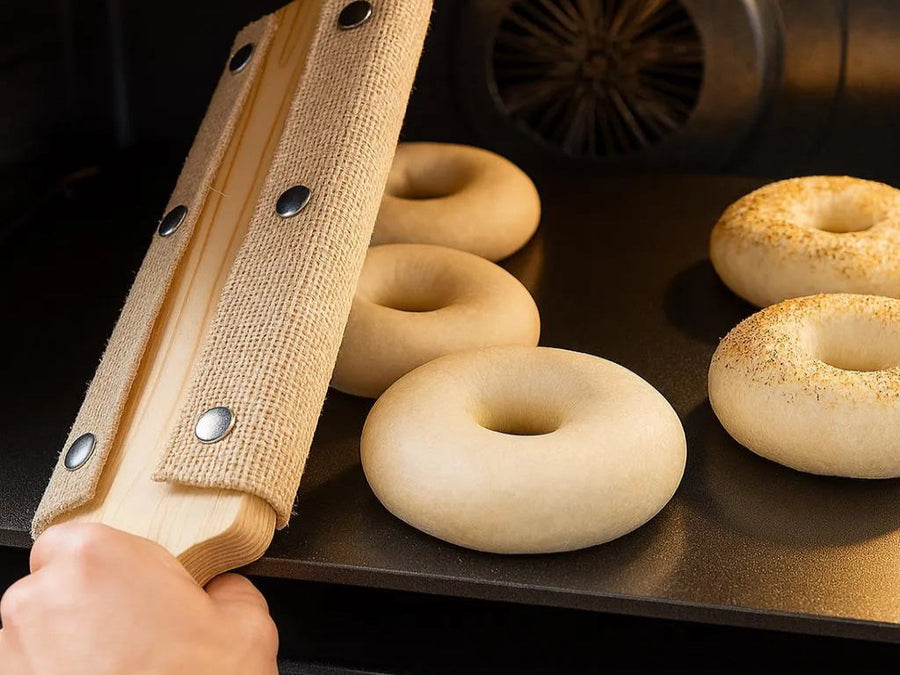
After roughly 5–7 minutes, the bagels will have puffed significantly and the burlap will begin to dry, signaling it is time for the flip. Using the integrated handle, pull the board forward and flip the bagels in one fluid motion directly onto the hot baking stone. This reveal is the defining moment of the bake, allowing the bagels to finish directly on the stone to sear the bottom and lock in the final shape. Watch for a deep, golden-brown color across the entire batch to ensure you have achieved a uniform, professional-grade crust.
AFTER THE BAKE — CLEANING
Preserving Your Workshop Tools
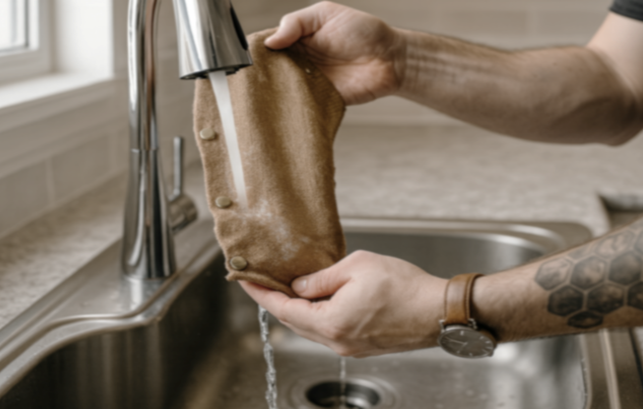
Proper maintenance ensures your handcrafted tools last for a lifetime of traditions. Never use dish soap on the cedar boards; the porous wood will absorb the scents, which can then transfer to your bagels. For Classic boards, a simple rinse with warm water and a soft brush is all you need. If you are using the Signature series, you can unsnap the burlap for a deeper clean; while the wood remains soap-free, the detached burlap can be cleaned with light dish soap since it is no longer in contact with the cedar. Always air-dry your boards on their side rather than flat on the counter to prevent warping and ensure total airflow.
TROUBLESHOOTING
If your first bake didn't go perfectly...
My bagels stuck to the burlap during the flip. What happened?
The most common culprit is an insufficient soak. If the cedar fibers and burlap aren't fully saturated, the moisture in the dough gets pulled into the board, causing it to grip the bagel. Ensure you're doing a full submersion soak for at least five minutes. If you're baking multiple batches back-to-back, give the boards a quick thirty-second "refresh" dip between uses to keep them hydrated.
The cedar is starting to turn dark or has "burn" spots. Is it ruined?
Not at all. That is just a natural patina caused by the caramelization of wood sugars and malt water at high temperatures. Think of it like a well-seasoned cast iron skillet; your boards will darken and develop character as you use them. This doesn't affect the flavor or safety of your bagels and is actually a sign of a well-loved workshop tool.
Can I use dish soap to get a deeper clean on the wood?
We strongly recommend against using soap on the cedar itself. Because cedar is highly porous, it will absorb the floral or chemical scents of commercial soaps, which can transfer to your dough during the next bake. However, if you own the Signature line, the advantage of the snap-on design is that the burlap covers can be removed and cleaned with light dish soap. Since the fabric is detached from the wood during cleaning, you can thoroughly sanitize the covers without risking the scent-profile of your cedar boards.
The boards are starting to warp or "cup." How do I fix this?
Wood is a living material that responds to moisture levels in the air. If boards are dried flat on a counter, the top dries faster than the bottom, causing the wood to curve. To prevent this, always air-dry your boards on their side (vertically). If warping has already occurred, a deep soak followed by drying them on the opposite side usually pulls the fibers back into alignment.
How do I know when it's time for new burlap?
In a typical home kitchen, burlap covers last for roughly 50 to 100 bakes. If you notice the edges fraying significantly or the fabric developing a "yeasty" smell that won't wash away after a deep clean, it's time for a refresh. Signature owners can easily swap out their snap-on covers, to keep their boards in professional condition without replacing them completely.