Same maker as our Etsy shop — 10% cheaper here, direct from the workshop.
recipe
Authentic New York Bagel Recipe
· Adam Bordeau
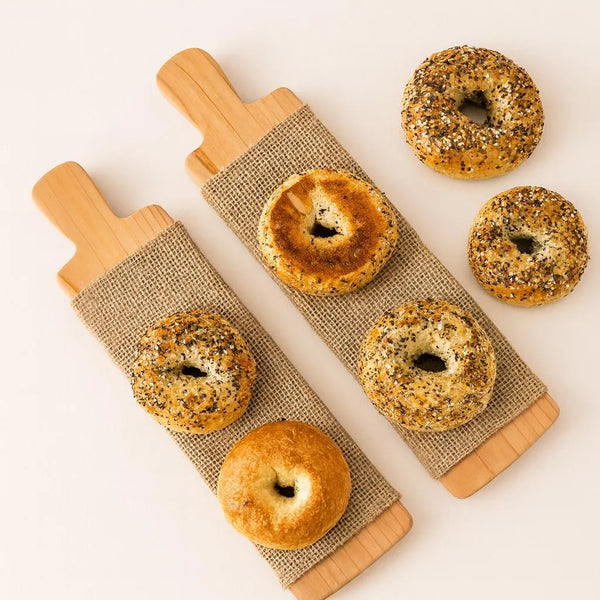
This recipe is the result of years spent trying to reclaim the perfect New York "bite" after moving to Colorado. High altitude and dry air are the enemies of a good bagel, but the secret to that authentic bloom and chewy crust is the same one used by the legendary shops back home: cedar boards. By starting your bagels toppings-side down on a wet board, you create a localized steam chamber that allows the dough to fully expand before the crust sets. This is the standard I use in my workshop kitchen every weekend. It’s a process that prioritizes a slow, cold ferment for flavor and a specific board-baking technique that standard baking sheets simply can't replicate.
A Note on Precision
In woodworking, an eighth of an inch is a mile; in bagel baking, five grams of water is the difference between a professional "chew" and a soft sandwich roll. I’ve listed every ingredient in grams because a kitchen scale is the only way to guarantee consistency. If you don't have one, this is the batch to buy one for.
Bagel boards are a mechanical solution to a home-oven problem. Professional bagel ovens use steam injection to keep the crust pliable; at home, our boards do that job. The soaked wood and wet burlap evaporate around the dough, trapping steam to help the bagel fully "bloom." Halfway through the bake, you flip them directly onto a steel or stone to crisp the bottom. If you want a deeper look at the science of the flip, read the method here.
The Timeline
Set aside a weekend for this. Most of the time is hands-off fermentation, but that overnight rest in the fridge is non-negotiable for flavor. I usually prep on Saturday and bake on Sunday morning. Give the dough the time it needs, and it will reward you.
Recipe
Prep
2 hours (active)
Cook
25 minutes
Total
18-26 hours (including overnight cold ferment)
Yield
6-8 Bagels
Ingredients
550g High-Gluten Flour (or Bread Flour)
320g Water (lukewarm)
28g Dark Brown Sugar
17g Vegetable Oil
14g Salt
10g Diastatic Malt Powder
3g Instant Yeast
2 tbsp Honey (Boiling ingredient)
2 tbsp Brown Sugar (Boiling ingredient)
1 tsp Baking Soda (Boiling ingredient)
Instructions
Combine flour, water, sugar, oil, salt, malt powder, and yeast in a stand mixer. Mix on low-medium speed for 10 minutes. The dough should be stiff, smooth, and highly elastic.
Cover the dough and let it rest at room temperature for 20 to 60 minutes. This allows the gluten to relax, making it much easier to shape.
Divide the dough into 6 to 8 equal pieces (approx. 115g–150g each). Roll each piece into a log 8–10 inches long. Wrap the log around your hand, overlapping the ends at your palm, and roll firmly on the counter to fuse the ends.
Place shaped bagels on a parchment-lined baking sheet. Lightly mist the tops with oil, cover, and let them rest for about 1 hour. Perform a "float test": if a bagel floats in a bowl of water, it’s ready.
Transfer the covered sheet to the fridge for 16 to 24 hours. This long rest is non-negotiable for developing the complex, tangy flavor of a real NY bagel.
Preheat your oven to 450°F with a baking steel or stone (preferred) inside. If you don’t have either, a stainless steel pan can be used instead. Submerge your cedar bagel boards in water to soak for at least 10 minutes.
Bring a large pot of water to a boil and add honey, brown sugar, and a dash of baking soda. Boil the bagels for 10–15 seconds per side.
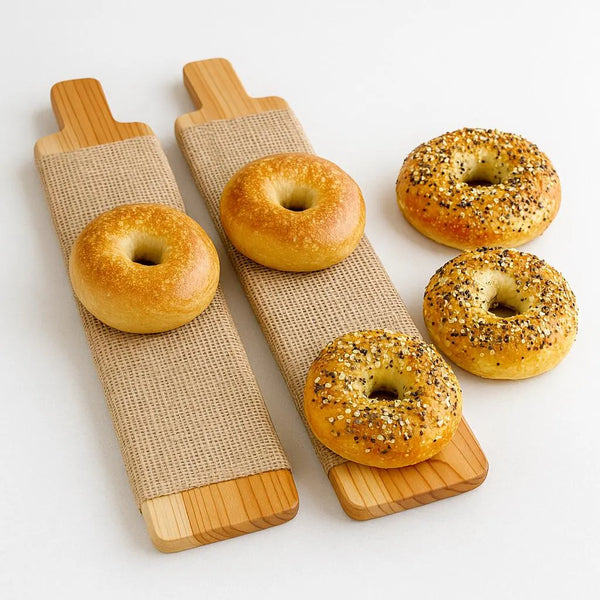
Immediately after boiling, dip the tacky bagels into your toppings (Everything seasoning, sesame, poppy, etc.). The residual moisture from the boil will act as a natural adhesive to hold the seeds in place.
Place the bagels toppings-side down directly onto your wet bagel boards. Place the boards on the hot baking steel or stone and bake for 5 minutes.
Pull the boards forward and flip the bagels directly onto the steel or stone. Bake for an additional 10–15 minutes until golden-brown. Note: if you notice the bottoms of your bagels are charring before the tops are finished, transfer them to a standard baking sheet for the final few minutes of the bake to buffer the heat.